DIY Flower Wreath
- Stephanie Zeiler
- Jun 18, 2019
- 2 min read
Follow these easy steps & create a flower wreath!

Materials you'll need!
Flower Bouquet (get a bouquet of some flowers you like)
Twig Wreath ( I bought this at Hobby Lobby for like $5)
Ribbon (For a bow you'l create)
Little Chalkboard Signs
Hot glue gun or little wire ( I used the little wires you use to hang ornaments, they worked amazing to hold stuff together)
Step 1: Cut the Flowers

I bought this bouquet at Hobby Lobby for $10 but I used their 40% off coupon and I was able to get it for like $6.
I was making this bouquet for my mom and I know she would love bright flowers so these were perfect. The bouquets have a small wiring inside, where the stem part is at so just make sure you have either scissors that can cut through that or a tool that can cut through it.
Below is a picture of all the flower cut just like I wanted them to.

Placing Flowers In The Wreath

Next, this is how I thought to place the flowers on the wreath the simplest way.
Since the wreath is made up of twigs, there's little spaces in between it all and it was easy to intertwine it through. I grabbed the stem of the flower, placed it where I wanted it in the front and then put the stem through.
Of course now you're left with all these stems out, like shown in the picture. With this, I just grabbed the stems and then wove them into the back until they were no longer sticking out. If necessary I used the little small wiring to hold a stem down.
This is what it looked like afterwards.
(see pic below)

Finishing Touches
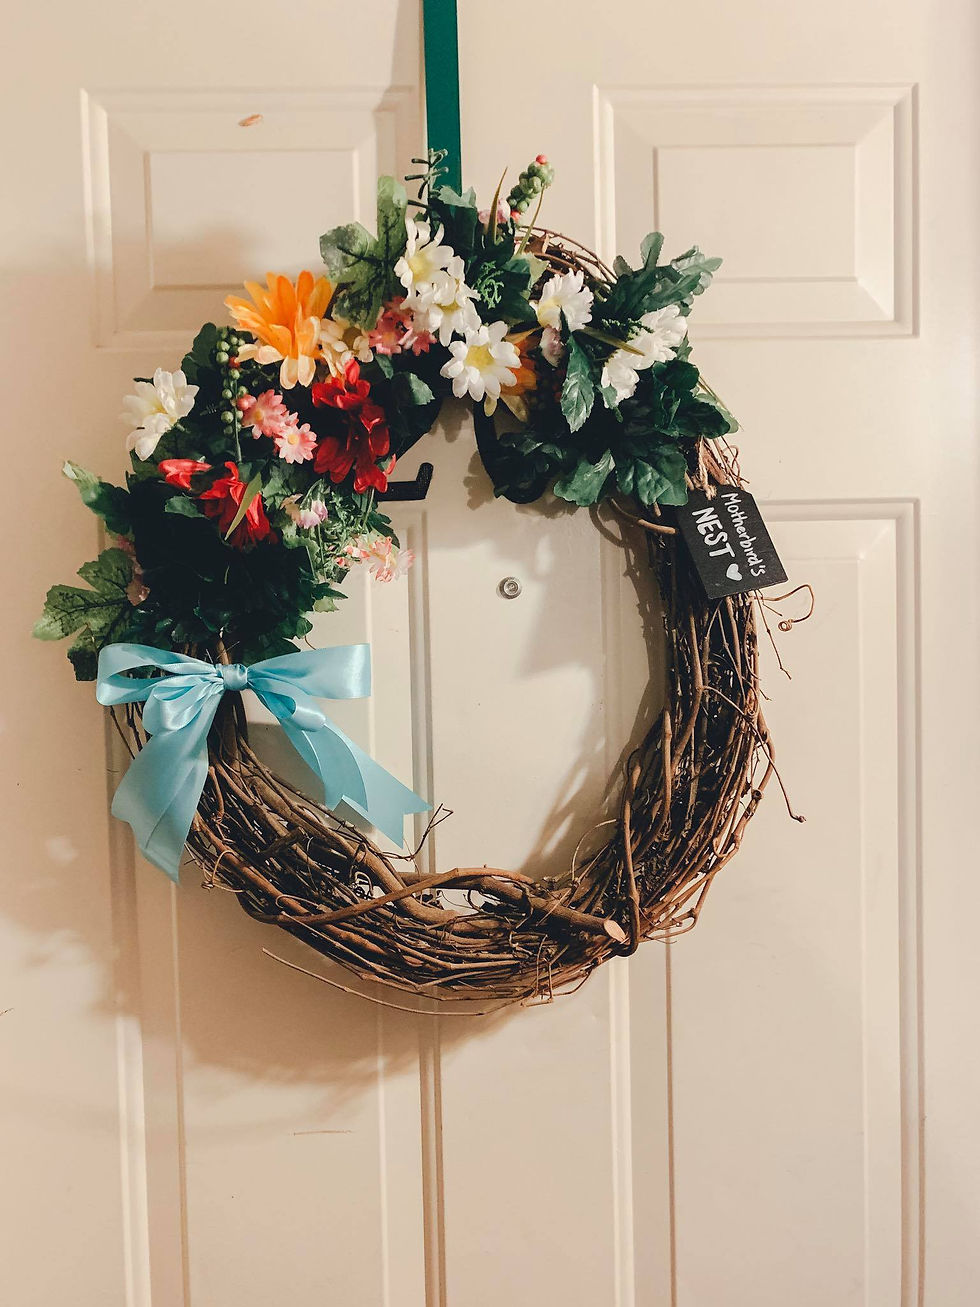
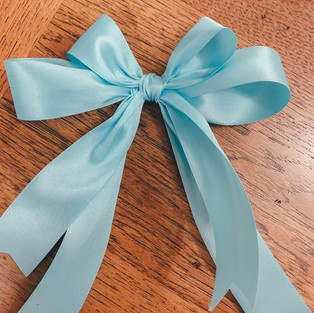
For this final part, you just then need to add the bow made of the ribbon of your choice. How you decided to do the bow is entirely up to you and the style you're going for. I also added a little chalkboard sign that says "Motherbird's nest" because we call my mother Motherbird and nest just seemed cute. You can choose not to add a little sign or a bow, I did just to make it cuter! I held it all together with the little metal things like I mentioned before. Below are pictures of the little add ons I did.
Final!
This is what the result looks like. Your turn to try!

Pin it!


HAPPY CREATING!
- Stephanie Zeiler


Comments